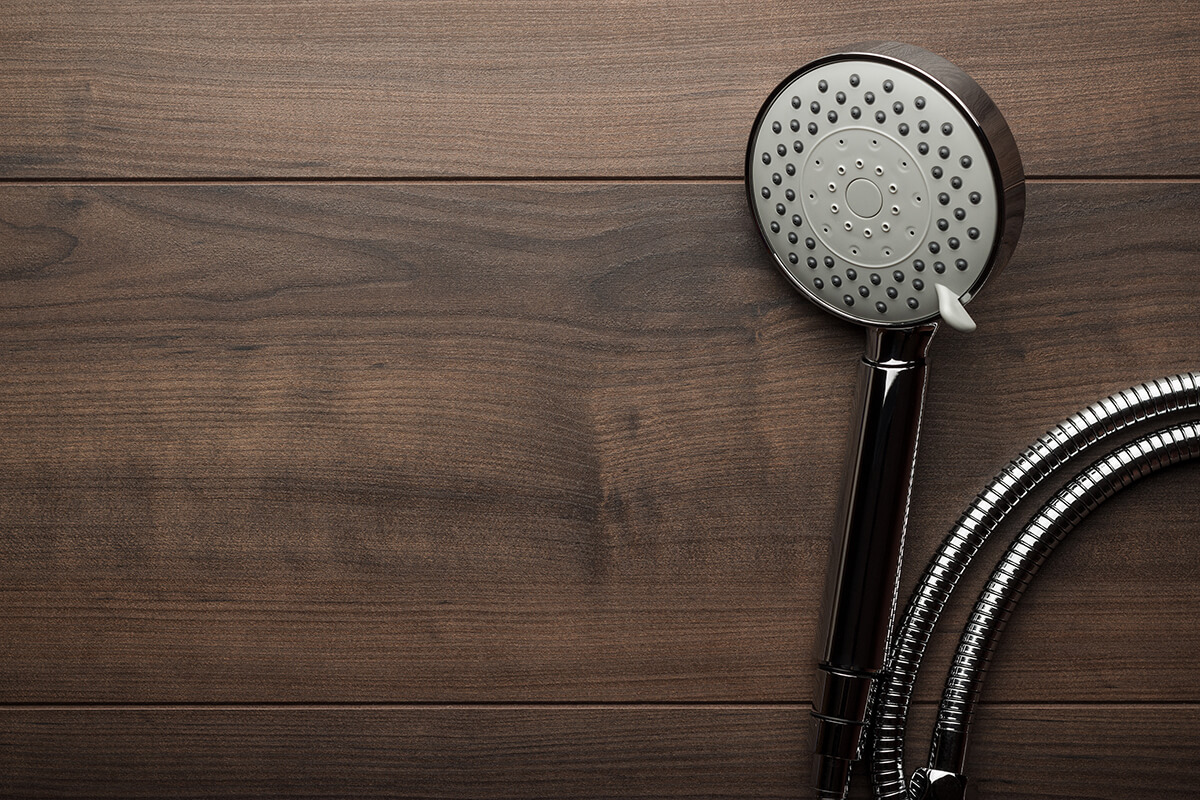
As part of our series of blogs giving general tips and advice, Reed’s Plumbing takes a look at installing a new shower head in your home. If you’ve just moved into a new place, whether you’re renting or buying, you might be disappointed to find the existing shower is either not working, or unable to produce anything more than a feeble drip.
Fortunately, most off-the-shelf replacement shower heads will do a decent job of improving the flow of water when you wash. Even more fortunately, most of these store-bought shower heads are pretty easy to install. But, if you’re swapping out a shower head for the first time, you might be hesitant to install it yourself.
The Reed’s Plumbing advice blog is here for you! Here are some simple steps that will work with the installation of most shower heads you can get at the store. If your shower is weaker because of problems with pipes or pressure, contact Reed’s Plumbing for an affordable plumbing repair service today.
What You'll Need
If you’re just going to be installing a standard shower head (which we’ll be talking about here for simplicity), then you’ll usually only need the following:
Definitely
- Adjustable wrench
- Teflon tape (plumber’s tape)
Just In Case
- Electrical tape
- Slip-joint pliers
The adjustable wrench and the Teflon tape will be your essentials, while the electrical tape and pliers might only be needed in certain situations.
Remove The Old Shower Head
To remove the old shower head, you’ll need to use your wrench. Make sure it fits snugly around the notch that keeps the current head in place. Turning it counterclockwise should loosen it – just remember, especially if you’re in a rental, to be careful not to be to too rough. You might want to take your new shower head with you when you move, so you’ll need to be able to refit the old one.
One you’ve loosened it enough, the old shower head should come away easily. Make sure you store it somewhere safe so that you can replace it if you need to.
Clean Out The Spout
Preventing Leaks
If you were wondering what that plumber’s tape is actually for, here’s your answer! Wrapping plumber’s tape around the spout before you attach the new shower head can be an effective way of preventing leaks.
Plumber’s tape isn’t sticky, but wrapping a couple of layers tightly around the threads of the spout will keep it in place.
Installing The New Shower Head
With the old head removed, the spout cleaned out and wrapped, it’s time to install the new shower head. Essentially, all you’re doing here is the first couple of steps in reverse. If the shower head came with specific instructions, follow them to screw on the head, turning the fastener clockwise while being careful not to over-tighten it.
This is where you might need the pliers to help you tighten it. It’s a good idea to cover the teeth of the pliers with a cloth, or the electrical tape we mentioned, so they don’t leave any marks on the metal, and then use them to tighten. You need to be extra careful here, as using pliers can make it easier to over-tighten.
Check For Leaks
You’re done! You don’t need to be a Reed’s Plumbing pro to install a shower head quickly and easily. Your last step is to turn on the shower and make sure nothing is leaking from where you connected it. You should also make sure you’re not standing under it when you check.
Reed's Plumbing In Springfield, MO
If you’d rather have a professional plumbing installing your appliances, or you have a more complex problem that requires some expertise and finesse, Reed’s Plumbing is the plumbing service for you! Whether it’s draining cleaning or water leaks, or you in desperate need of emergency 24-hour service, you can rely on us for affordable plumbing – so get in touch today!


